
This will be a long tutorial about React Native. I’ll keep adding new part of it everyday after writing it. Find the codes in – https://github.com/nerdjfpb/react-native-series
Prerequisite
Knowledge about JavaScript(Specially ES6), React JS.
Tools Needed
- Windows/Mac/Linux
- Node LTS 10+ Version
- Android Studio for android emulator or iOS emulator
I’m following the React Native Documentation! So let’s start…
Day 1
Simply, React Native is a JavaScript library which helps to create web, android & iOS code from one codebase. We need JavaScript and React knowledge to start it. Hope you know about both of these.
You can see look at
- https://blog.nerdjfpb.com/javascript-in-30-days-free-pdf/
- https://blog.nerdjfpb.com/learn-react-and-get-a-job-in-2020/
For understanding JavaScript & React JS!
Installing
To install the react native we can install directly using react native cli, but we’ll install it using expo because expo gives us some extra benefits over react native cli. Installing expo is really easy.
npm install -g expo-cliCreate project
Creating a new project is really easy with the expo. Just initial a project with expo init projectName then go to directory using cd projectName and finally start with npm start or expo start
Easy right ?
expo init YourProjectName
cd YourProjectName
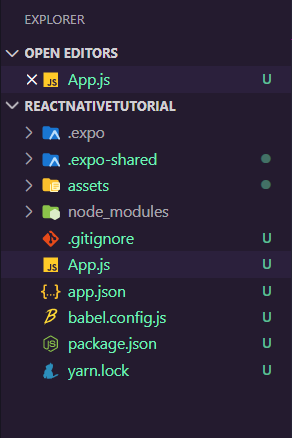
npm start / EXPO STARTFolder Structure
Don’t worry to much about the folder structure for now. We’ll start from editing the app.js for now.
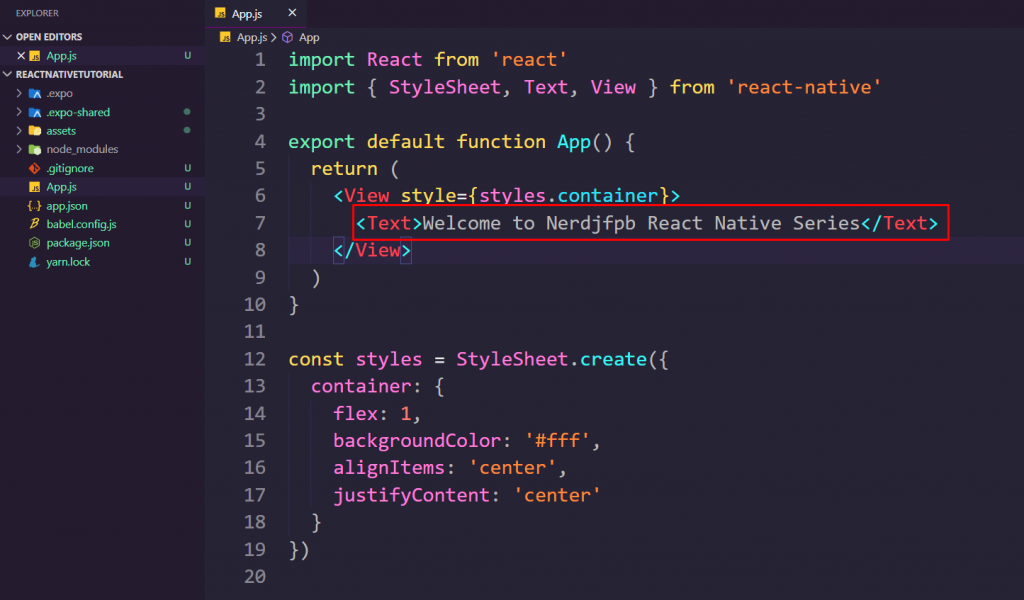
Change a little
Let’s change a little just in the Text
RESULT
We can run easily the project
npm Start
or
expo Start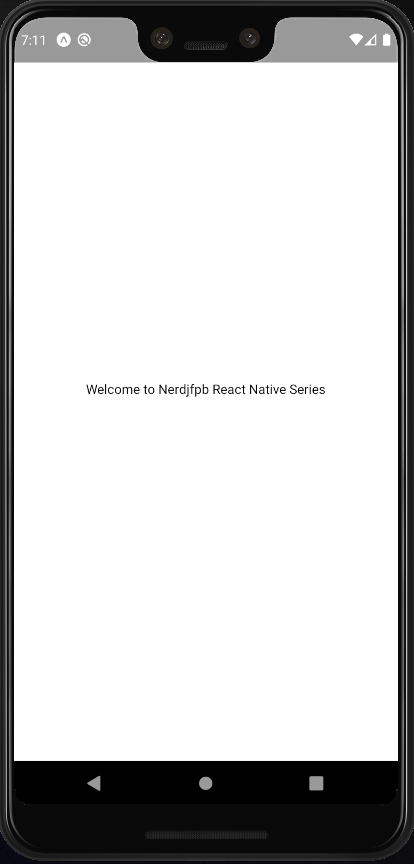
Day 2
Today we are going to learn about the stylesheet of React Native. To style the app we can’t use directly css properties here, but yes we can use the css but we need to twerk a little bit.
Now we are going to change a little on the code and we are going to see some style changes. First we are going add a little class on the Text
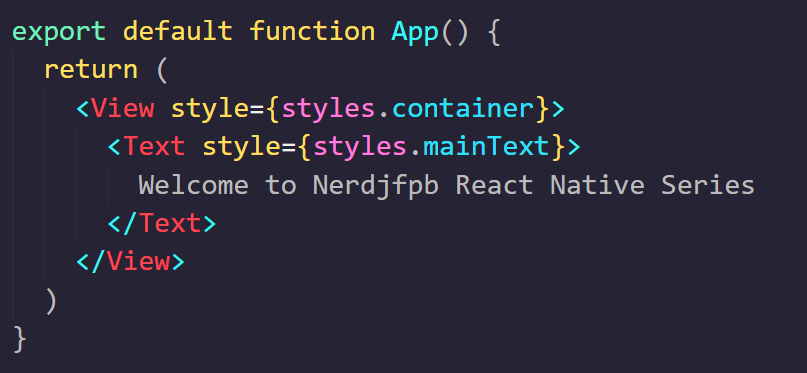
We are going to add some style now
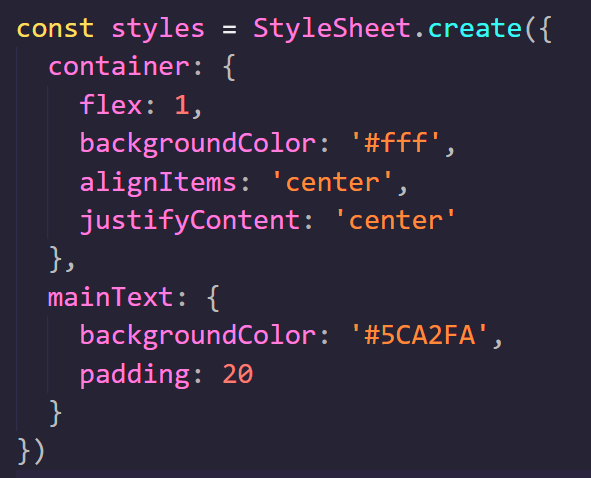
Now we can run this using npm start or expo start and the result –
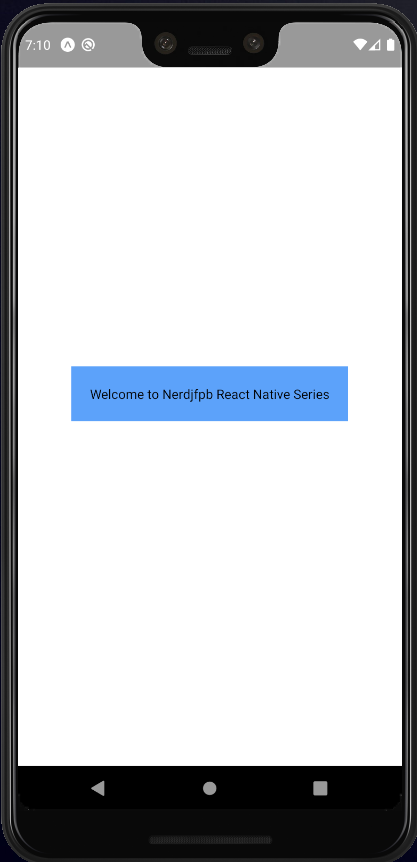
In css we use kebab_case but in react native we use camelCase. This is the different. Now we can style whatever we want.
See the graphical version below –
Day 3
Today we are going to learn about react state. Well if you are from react already then this is just a revision for you!
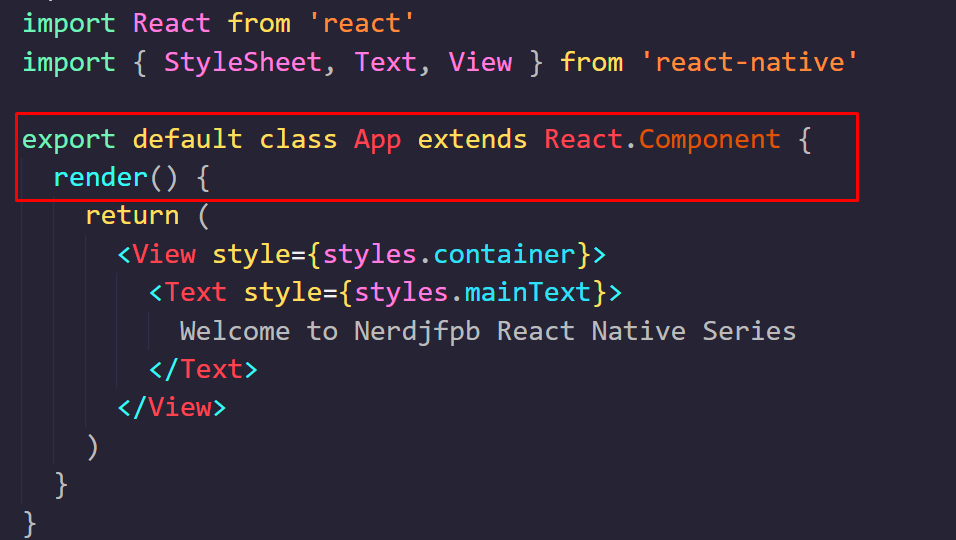
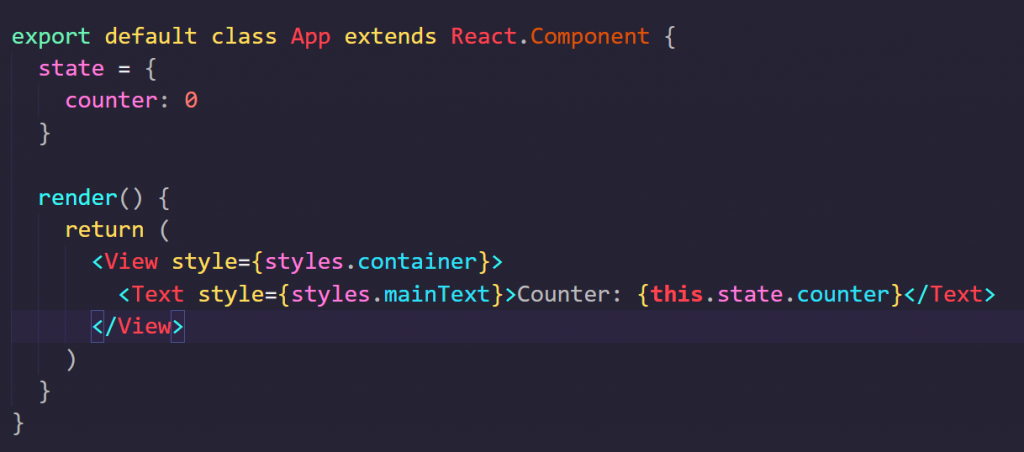
First we’ll change our function to class
Now we can initialize state
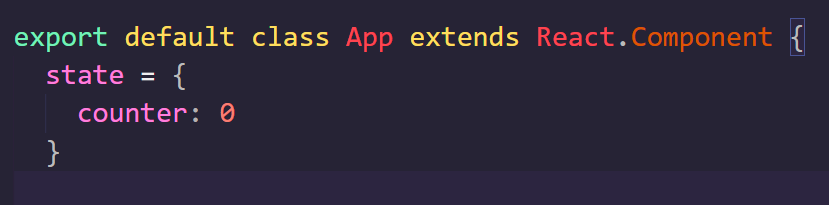
Printing the state value
Run it using
npm start
or
yarn start
REMEMBER: WE CAN’T CHANGE STATE DIRECTLY, WE NEED TO USE SETSTATE TO CHANGE STATE.
See the graphical version here –
I’ve started a programming community on discord. Click to join.
I’ve two free PDF tutorials for you
I also provide paid one-to-one mentor-ship about programming. Knock me up for classes if you need any.
Don’t afraid to ask me anything, message me anytime on social media.